|
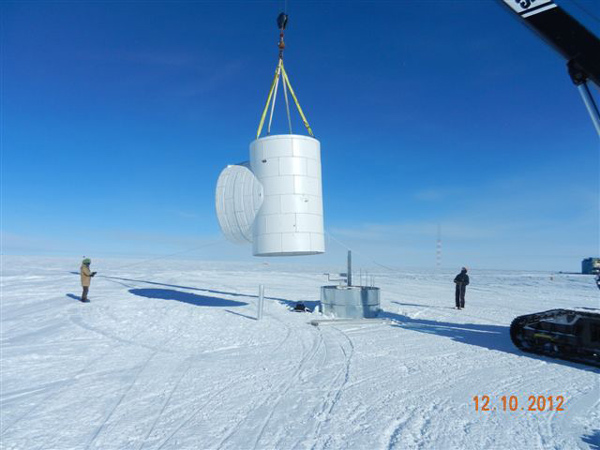
A bit of deferred maintenance perhaps, but it was accomplished quite quickly as you may observe from the dates on the photos. When the fuel arch was reworked in 1998-99, a new set of emergency exit spiral stairs was installed at the upwind end...but as we all know, Mother Antarctica keeps dumping snow on the place, and things get buried...
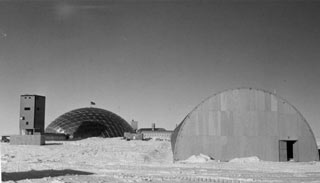 (US Navy photo by PH1 K. Thorneley taken in February 1974) Once upon a time the fuel arch was built on the surface, with an exit door on the upwind end. This was quite useful during our 1977 winter...not only as a sheltered lighted shortcut to Clean Air, but also to enable us to remove all the snow that leaked through the cracks in the unburied arch. By hand. On sleds. But even then the drift was starting to scour around the fuel arch, soon to start burying the bulkhead. A few years later a new exit door was added at the top of the bulkhead with an interior stair...and in the late 80's when things started to collapse the bulkhead was completely rebuilt. (US Navy photo by PH1 K. Thorneley taken in February 1974) Once upon a time the fuel arch was built on the surface, with an exit door on the upwind end. This was quite useful during our 1977 winter...not only as a sheltered lighted shortcut to Clean Air, but also to enable us to remove all the snow that leaked through the cracks in the unburied arch. By hand. On sleds. But even then the drift was starting to scour around the fuel arch, soon to start burying the bulkhead. A few years later a new exit door was added at the top of the bulkhead with an interior stair...and in the late 80's when things started to collapse the bulkhead was completely rebuilt.
During the 1998-99 revamp, the wood bulkhead was replaced with a steel structure, and a spiral exit stair was added.
|
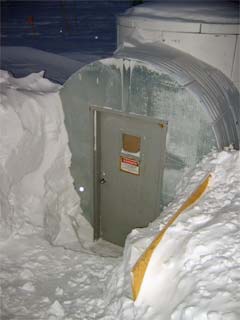
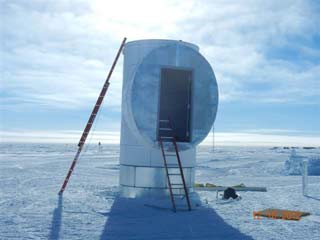
By 2005 this means of egress was already starting to get buried...here is my photo from that winter. |
 Again from my 2005 winter...inside the door...the top landing of a spiral stair. |
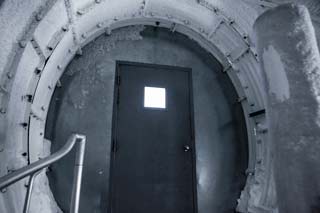 Looking at the exit door from the stairwell... |
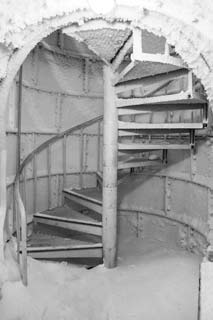
...and here's the bottom of the stairway. These two photos were taken in 2012-13 by (Jeffrey Donenfeld) (JD) before any modifications. |
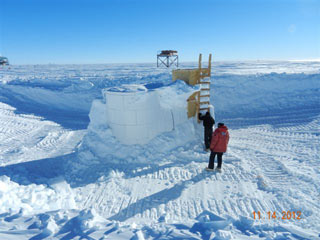
At some point after 2008 this became too deep to dig out by hand, so a plywood extension with ladder was added...
|
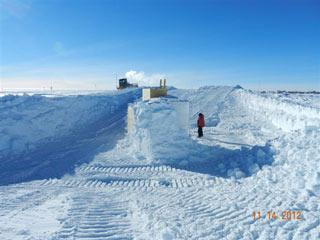
...seen here as the structure was being excavated.
|
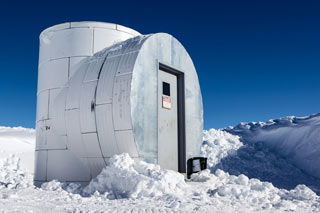
It's mostly dug out (JD).
|
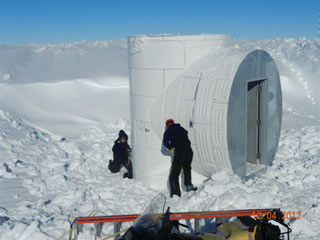
A bit more digging...
|

Meanwhile...a shaft extension had been ordered based on the original egress drawings; it just needed to be bolted together. |
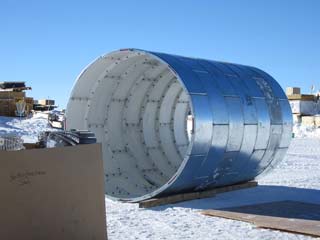
Like so (Joe Crane). |
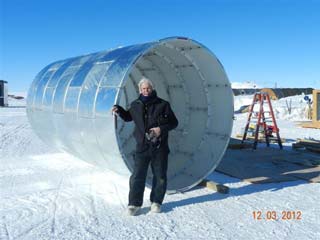
Another view...with Steve Bruce, source of the photos on this page which aren't otherwise credited.
|

Moving the shaft to the site... |
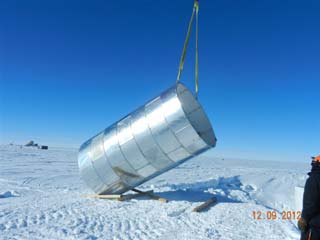
...standing it up...
|
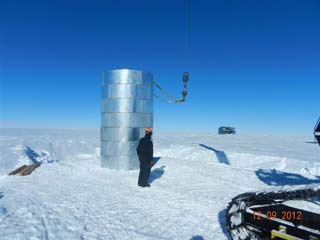
...thus. |
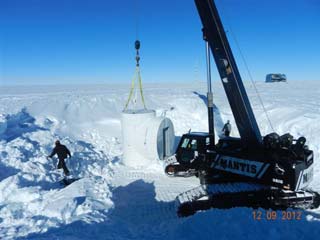
Next, removing the top of the egress shaft. |
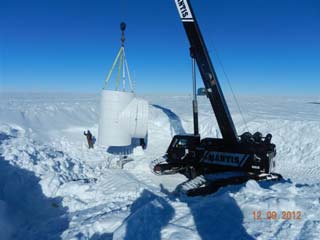
In the air. |
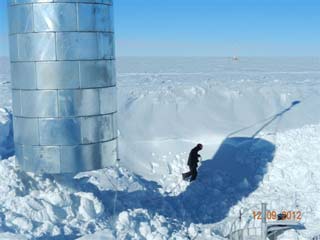
Getting ready to set the extension. |
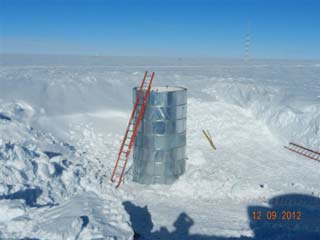
And it fit. Of course. |
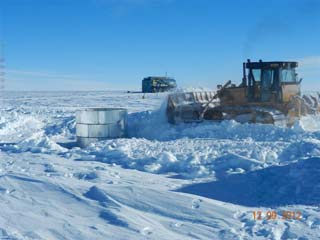
Next, a bit of backfill. |
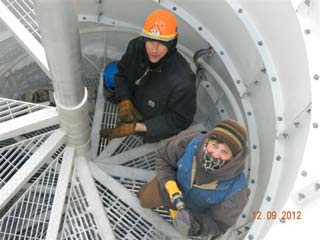
Bolting things up, assembling the stairs. |
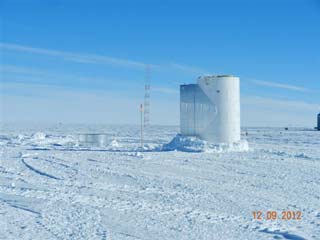
Guess what comes next? |
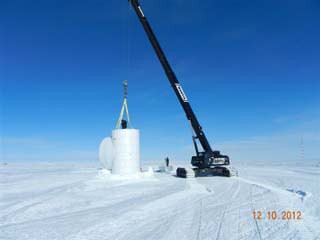
That's right, only one piece left. |
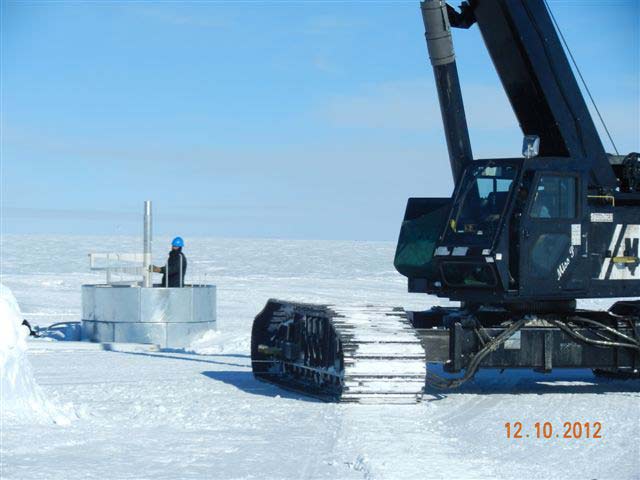
Readying for the top section. |
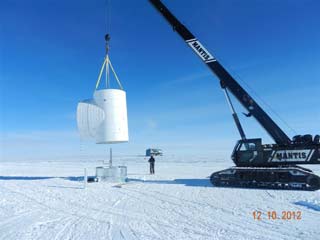
And there it goes. |
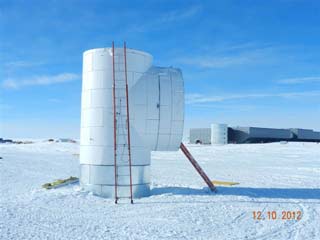
All set! |
Well, there was a bit more to do. |
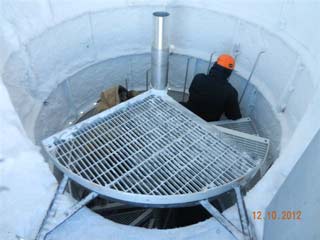
Such as finishing the stairs on the inside... |

...and adding some access stairs on the outside. |

All done! |
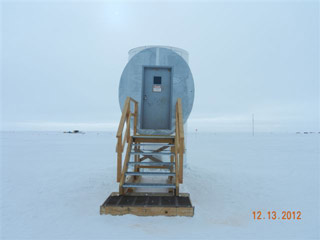
Here's a look from the front side... |
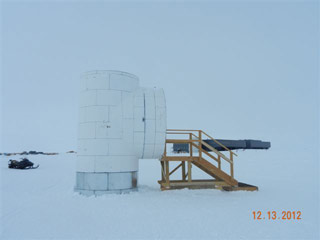
Here's the other side with the station in the background. |
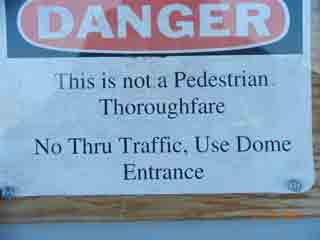
This is the original warning sign on the door. |
|
Thanks to Steve, Jeffrey, and Joe for their photos!
The power plant air intake duct was extended as well.
|


