2008 Winter Photos - Those doors into the beer can...
| One project we started in August was the relocation of the main doors between the station and the vertical tower/stairwell. It seems that when these doors were originally installed, they were moved several feet into the vestibule because of elevation differences between the stair tower and the station. Now that the stair tower has been lowered, there was room to put the doors in the proper place and improve the thermal insulation in this often-chilly area. | |
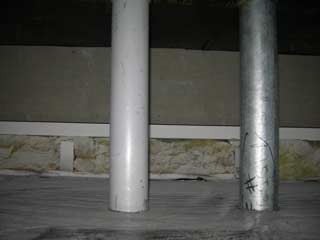
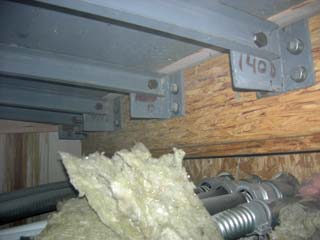 Here's a look under the first floor ramp at the penetrations through the main station SIP panels into the subfloor. The fact that the door isn't in line with this wall (and there is no further insulation below the old door location several feet behind this wall) caused pipes to freeze more than once in the past. I see holes and air leaks...remember, all of this is supposed to be permanently insulated tightly and get the final siding panels someday. |
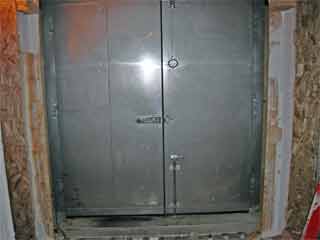
 A closer "before" look at the left outside first floor door jamb. |
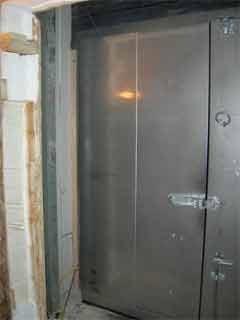 Another look at the same door jamb a bit later after the insulated panel along the left edge of the photo was being cut away and rebuilt to accept the door frame. And some temporary electrical cords were poked through the wall. |
|
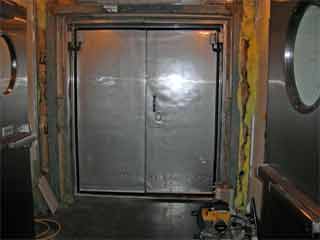
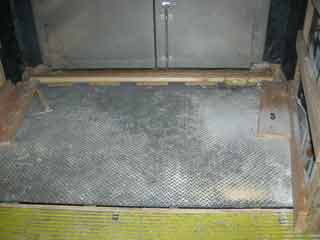
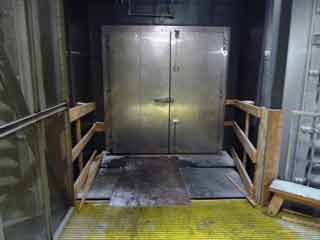
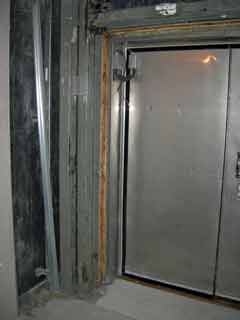 What things looked like inside the first level vestibule when we finished...some creative welding was required. I had the original shop drawings, but what we found inside the walls didn't exactly match. And we didn't have the materials to do the interior finish. |
 Here is the right side of the first floor interior door jamb, as we left things. |
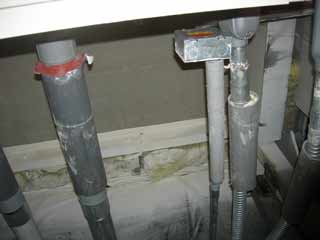
| Above, a set of "before" and "after" photos...we're looking straight up at conduits above the first floor vestibule (the beer can is toward the bottom of the photos). The wall at the bottom of the first photo is where the doors had been installed; in the second photo that wall is gone. The insulated conduit sleeves remain, presumably now hidden above the finished vestibule ceiling. | |
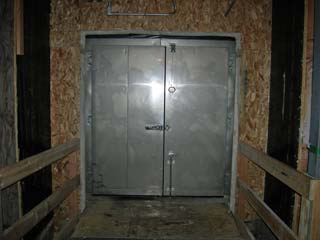
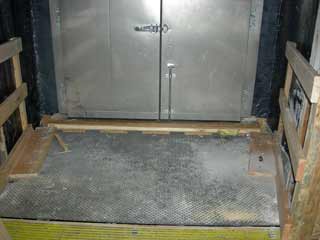
| The second floor doors presented some different problems... | |

